
Easy WordPress Theme Template Identification
Making it easy to locate which template is producing a block of code from the front end of the site…
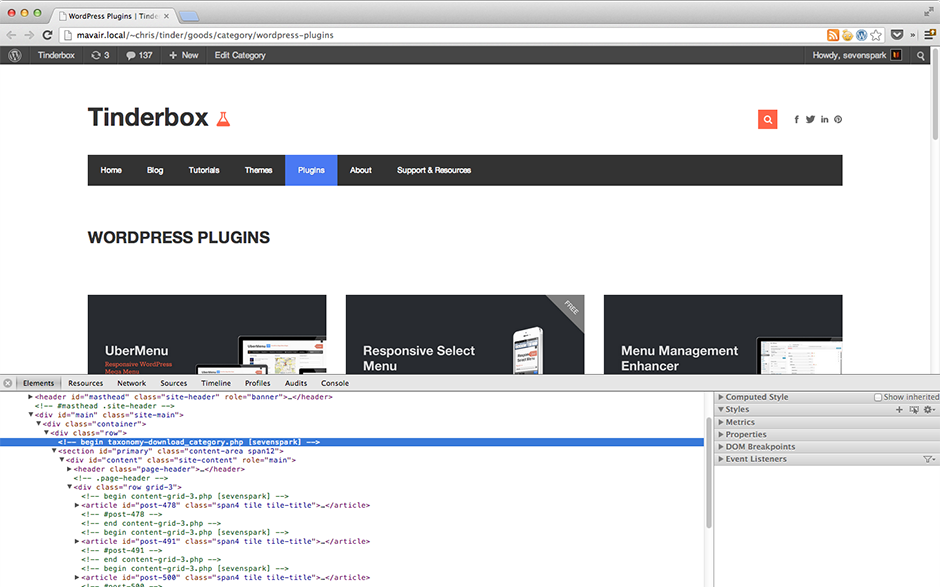
Making it easy to locate which template is producing a block of code from the front end of the site…
One issue I've run into in WordPress is that you can't add HTML tags, specifically anchors, into your image captions.…

Get acquainted with this very useful core WordPress feature that many users aren't aware of, since it's hidden by default.

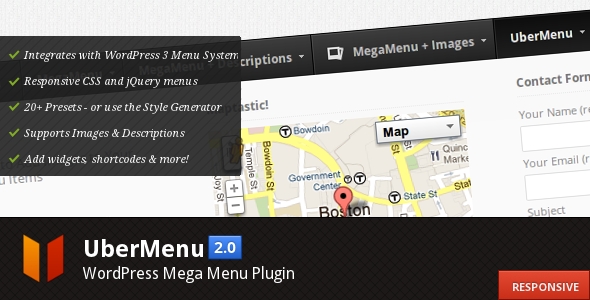
UberMenu 2.0 - WordPress Mega Menu Plugin brings some awesome new features to the table, including responsive menus, enhanced CSS,…
ReplyPantry is a Google Chrome Extension that allows Envato Marketplace users to insert customized text snippets into forum posts or…
Learn how to implement a simple sent mail counter for your contact form using shortcodes and action hooks.


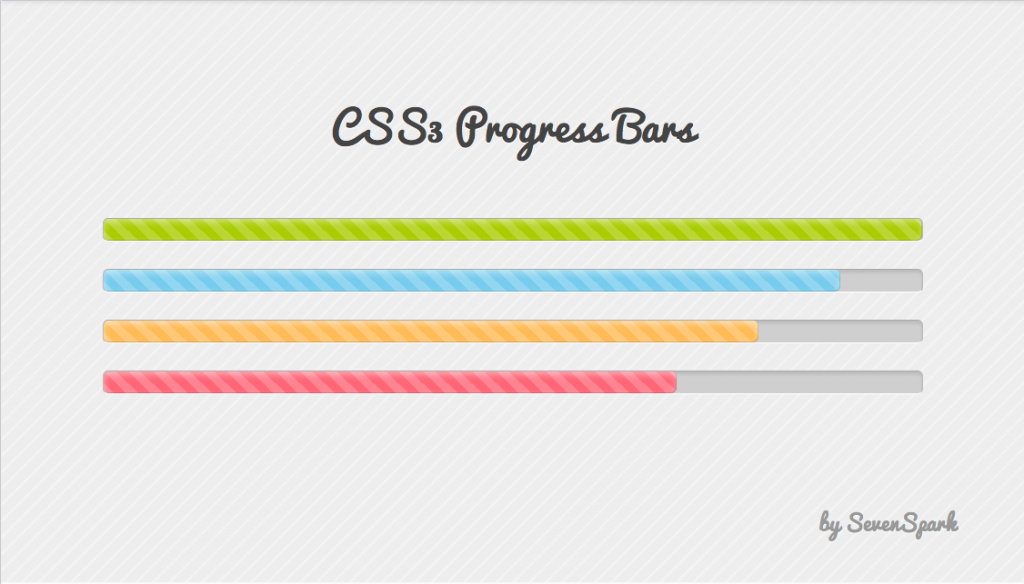
Demo Code Here's a set of pure CSS3 Progress Bars. They are currently static (their progress percentage is set via…
SevenSpark.com gets a facelift... and botox and liposuction, too.
Demo Code YARPP (Yet Another Related Posts Plugin) for WordPress is a great related posts plugin. With one of my…