Quick Tip: How to add a Skype URI Link to your WordPress Menu
If you try to save a Skype URI as a custom menu item URL, WordPress will reject that URL as…

If you try to save a Skype URI as a custom menu item URL, WordPress will reject that URL as…
UberMenu 2.4 is here! It offers a few new features and tweaks. Common Questions Is it backwards compatible? Yes, it's…
Here's how you can leverage UberMenu's custom content capabilities to insert dynamically generated columns of categories.
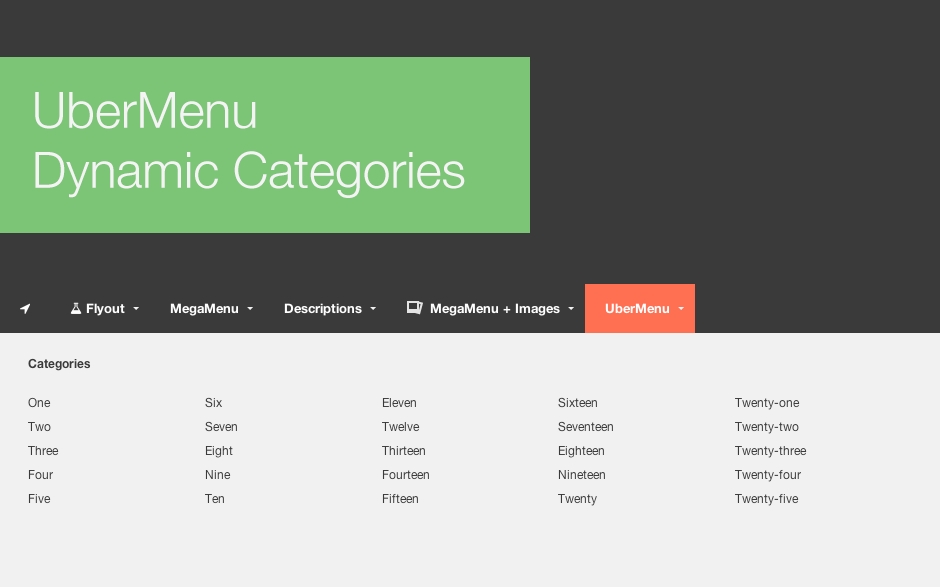
In this quick tutorial, we'll write a very simple shortcode that we can add to UberMenu to display the current…
Do you have a lot of menu items, and have you experienced a dramatic slow down in your Appearance >…

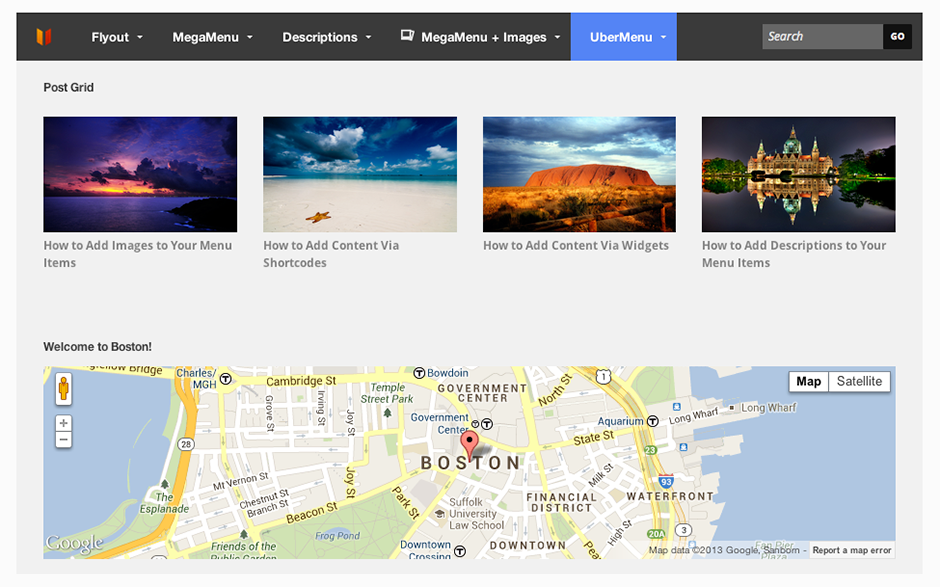
In this tutorial, we'll build a custom shortcode that will allow you to add a grid of recent posts to…
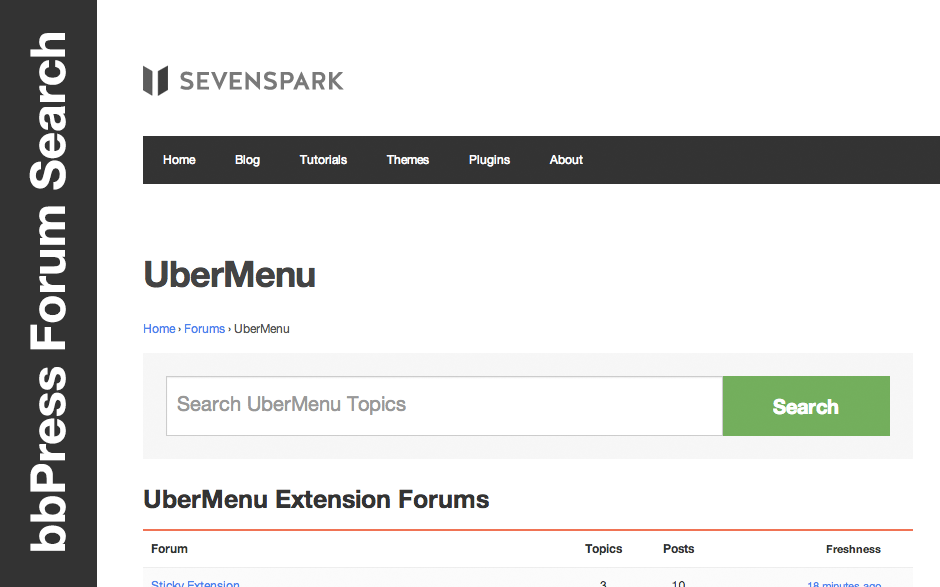
bbPress's default search functionality is global across all of your forums - here's how you can search from a specific…
Here's how you can use the Menu Swapper for post types other than just Posts and Pages.
Many an unsuspecting WordPress user has fallen victim to the menu item limit effect. Here I'll attempt to explain why…

Hit a snag? Head to the Support Forum UberMenu 2.3.0.2 is now available, and upgrade is recommended. UberMenu 2.3 was…